How to Run a Rapid Code Risk Assessment Before Deploy
The fastest reliable pre-deploy check is a CI-attached, diff-aware automated scan covering SCA, SBOM generation, secret scanning, and SAST, followed by a 5–10 minute manual last-pass. Run it on every pull request, gate on high/critical findings only, and you get a defensible result without stalling your deploy.
Here is the minimum runnable checklist to get that result right now:
- Dependency SCA (npm audit, Snyk, or OWASP Dependency-Check): flags known CVEs in your direct and transitive packages
- SBOM generation (CycloneDX or SPDX): produces a machine-readable inventory you can query during supply-chain incidents
- Secret scanning (GitHub Advanced Security push protection or GitGuardian/TruffleHog): catches credentials before they hit the remote
- SAST (CodeQL): surfaces injection flaws, auth gaps, and unsafe patterns in your own code
- Container scan (Trivy): checks your base image and installed packages for known vulnerabilities
- DAST baseline (OWASP ZAP): runs after the first four as a warn-only gate.
Gating rule: fail on high/critical, warn on low/medium. Failing builds on every minor advisory drives engineer fatigue and, eventually, abandoned security controls.
Key Takeaways
A CI-attached rapid code risk assessment process, gated on high/critical findings with diff-aware scoring as a PR guardrail, gives small teams a defensible pre-deploy check in under 10 minutes.
| Point | Details |
|---|---|
| Gate on severity, not volume | Fail builds only on high/critical findings; set low/medium to warn to avoid engineer fatigue. |
| Parallelize the core checks | Run SCA, SBOM, secret scan, SAST, and container scan in parallel; trigger DAST after they pass. |
| SBOMs answer supply-chain questions fast | Generate a CycloneDX or SPDX SBOM on every build so you can assess exposure in minutes. |
| Suppress with documentation | Every suppressed finding needs an owner, a reason, and an expiry date for audit purposes. |
| Vibeprod automates the review | Vibeprod scans your GitHub repo, surfaces launch risks, and opens plain-English fix PRs in under two minutes. |
Table of Contents
- What does a rapid code risk assessment process actually check?
- How do you wire CI/CD gates without killing your deploy velocity?
- How do you automate dependency checks and generate SBOMs quickly?
- What are the fastest wins for secrets and CI hardening?
- How should you triage and fix findings without slowing down shipping?
- What does a four-week baseline plan look like for a small team?
- What should you check manually in the last 15 minutes before deploy?
- Why this process is built for small teams, not enterprises
- Vibeprod scans your repo and opens fix PRs so you can ship with confidence
- Sources
- FAQ
What does a rapid code risk assessment process actually check?
Think of this as your pre-flight checklist. Each check has a job, a time cost, and a clear pass/fail threshold.
| Check | Tool(s) | Approx. run time | Gate behavior |
|---|---|---|---|
| Dependency SCA | npm audit, Snyk | 1–2 min | Fail on high/critical CVE |
| SBOM generation | CycloneDX, SPDX | Under 1 min | Informational |
| Secret scanning | GitHub Advanced Security, GitGuardian, TruffleHog | Under 1 min | Fail on any detected secret |
| SAST | CodeQL | 3–5 min | Fail on high/critical |
| Container scan | Trivy | 1–3 min | Fail on high/critical |
| DAST baseline | OWASP ZAP | 3–5 min | Warn only |
Run SCA, SBOM, secret scanning, SAST, and the container scan in parallel. Trigger the DAST baseline only after those pass. That parallel structure keeps total wall-clock time under 10 minutes for most small repos.

When a finding blocks a build, you have two options: fix it or suppress it. Suppression is legitimate for false positives, but document every suppression with an owner, a reason, and an expiry date. Tools like .snyk, .trivyignore, and CodeQL inline suppressions all support this pattern, and it doubles as SOC 2 audit evidence.
How do you wire CI/CD gates without killing your deploy velocity?
The short answer: run the heavy checks in parallel, keep DAST as a follow-on warn gate, and never fail a build on a medium-severity finding you cannot fix today.
A minimal GitHub Actions structure looks like this:
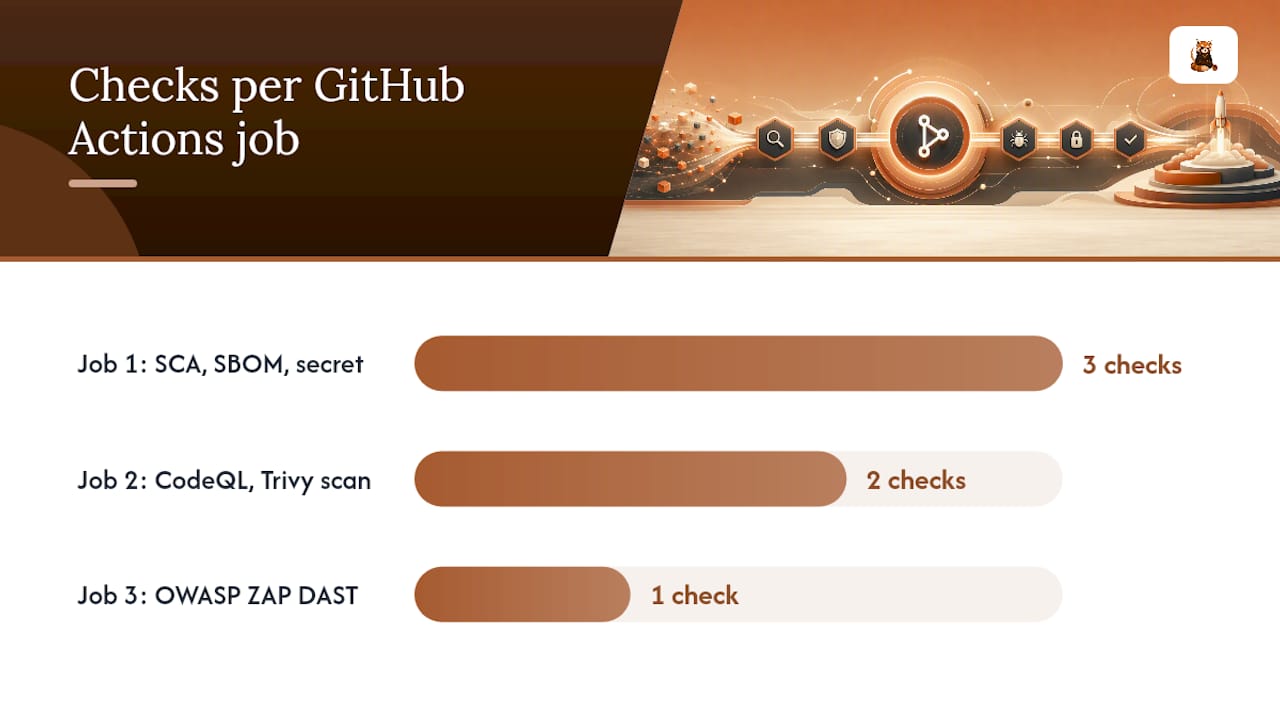
- Job 1 (parallel): SCA + SBOM + secret scan
- Job 2 (parallel): CodeQL SAST + Trivy container scan
- Job 3 (sequential, after Jobs 1–2 pass): OWASP ZAP DAST baseline as
continue-on-error: true - PR comment: attach a diff-aware risk score as a guardrail annotation
The diff-aware scoring piece is worth calling out. Research on diff-only risk models shows that scanning only the changed lines, rather than the full codebase, produces a practical, metadata-free risk signal that works even in cold-start repositories with no historical incident data. Meta’s Diff Risk Score takes this further: by scoring each diff and routing review effort to the changes most likely to cause production incidents, it reduced the need for broad code freezes. You do not need Meta’s infrastructure to get the benefit. A PR-level risk annotation that flags “this diff touches auth and DB migrations” is enough to route the right reviewer.
Pro Tip: Shadow-mode the diff-aware score for two to three weeks before enforcing it as a gate. You will quickly learn which thresholds generate noise and which ones catch real problems.
For DevSecOps tool selection at the small-team level, prefer tools with native GitHub Actions integrations so you avoid maintaining custom wrappers.
How do you automate dependency checks and generate SBOMs quickly?
SBOMs and SCA together answer the question every founder dreads during a supply-chain incident: “Are we affected?” Generating SBOMs automatically in CI and scanning dependencies on every commit means you can answer that question in minutes rather than hours.
Steps to wire this in:
- Add a CycloneDX or SPDX SBOM generation step to your CI workflow, triggered on every push to main and every PR merge. Store the output as a build artifact.
- Run an SCA tool (Snyk, OWASP Dependency-Check, or GitHub’s Dependabot) against your lockfile on every commit. Gate on high/critical CVEs.
- Pin all dependency versions in your lockfile. Never use floating ranges like
^1.2.0in production manifests. - Enable Dependabot alerts and version updates, but require a human review before auto-merging any dependency bump that touches a high-severity advisory.
- Audit transitive dependencies quarterly. Remove unused packages entirely rather than suppressing their alerts.
For vendor due diligence, ask three quick questions before adding a new dependency: Does the package have an OpenSSF Scorecard score above 5? Is the maintainer active in the last 90 days? Does the license conflict with your distribution model? That 60-second check prevents most supply-chain regrets.
What are the fastest wins for secrets and CI hardening?
Enabling GitHub’s secret scanning with push protection takes about two minutes and blocks credential commits before they reach the remote. Do that first. Then:
- Scan your full Git history with TruffleHog or GitGuardian to find secrets already committed. Rotate any you find immediately, even if the commit is old.
- Move all secrets to HashiCorp Vault or AWS Secrets Manager. Hardcoded credentials in
.envfiles checked into private repos still get leaked when repos are accidentally made public or when a contributor’s machine is compromised. - Apply least-privilege to every pipeline service account. A CI job that only needs to push a Docker image should not have write access to your production database.
- Use ephemeral build environments. Nearly 24% of supply-chain attacks exploit CI/CD build vulnerabilities, and a persistent build runner with cached credentials is a high-value target.
- Enforce MFA on every developer account and on the GitHub organization itself.
Pro Tip: After rotating a leaked secret, do not just update the value. Audit every system that had access to the old credential and check for unauthorized activity in the window between the commit and the rotation.
For a deeper look at securing CI/CD pipelines against supply-chain attacks, least-privilege service accounts and ephemeral runners are the two controls with the highest return for the effort invested.
How should you triage and fix findings without slowing down shipping?
Speed matters here. A finding that sits in a backlog for three weeks is not a finding, it is a liability.
- High/critical findings: fix before merging, no exceptions. If a fix is not available, open a suppression with an expiry of 14 days and assign an owner.
- Code paths touching auth, payments, or DB migrations: treat medium findings in these areas as high. The blast radius justifies the extra scrutiny.
- Medium/low findings elsewhere: schedule in the next sprint. Do not block the current deploy.
- Automated fix PRs: accept them when the change is a version bump with no API changes. Treat them as draft when the fix touches middleware or auth flows. Every fix PR should include a plain-English explanation of what the vulnerability does and why the fix resolves it.
- Escalation: for any finding that could affect production data, route to a canary deploy first. Define rollback criteria before you push, not after something breaks.
Diff-aware scoring acts as a guardrail here, not an oracle. It surfaces which changes need a second set of eyes; it does not replace that review.
What does a four-week baseline plan look like for a small team?
| Week | Focus | Key actions |
|---|---|---|
| 1 | Access and secrets | Enable MFA, turn on secret scanning + push protection, run TruffleHog on full Git history, rotate any findings |
| 2 | Dependencies | Pin versions, add lockfiles, enable SCA in CI, configure Dependabot alerts with human-review gate |
| 3 | Scanning | Generate SBOMs per build, enable CodeQL, add Trivy container scan, integrate ZAP baseline as warn-only |
| 4 | Provenance | Add SLSA Level 1 build provenance via the SLSA GitHub Generator, sign artifacts with Sigstore, enable shadow-mode diff scoring |
Week 4 is where the process shifts from reactive to proactive. SLSA Level 1 means your CI automatically generates build provenance, giving you a verifiable record of what built what. Sigstore artifact signing adds a cryptographic guarantee that the artifact you deployed is the one your CI produced. Neither requires significant infrastructure for a small team.
What should you check manually in the last 15 minutes before deploy?
Automation catches most things. These manual checks catch the rest:
- Scan the last five commits for any secret-like strings that push protection might have missed (API keys, connection strings, tokens in comments)
- Confirm the SBOM artifact was generated and attached to this build
- Review any open high/critical SCA or SAST alerts that were suppressed rather than fixed
- Check config changes: feature flags, infra credentials, DB migration scripts. One misconfigured flag has taken down more production systems than most CVEs
- Verify your canary deploy path is available and your rollback procedure is documented and tested
- Confirm monitoring and alerting hooks are active on the deployment target
- Run a smoke test against a staging slice before touching production
This pass takes 5–15 minutes. It is not a substitute for CI gates; it is the last human checkpoint before a change is irreversible.
Why this process is built for small teams, not enterprises
The conventional wisdom in security tooling is that more coverage equals more safety. For a solo founder or a two-person team, that logic breaks fast. Every gate you add is a gate you have to maintain, triage, and explain to yourself at 11 PM before a launch.
The approach described here is designed around a different premise: automation should be a guardrail, not a blocker. Fail only on findings that genuinely threaten your users or your business. Warn on everything else. Keep the human review short and focused on the changes that actually matter, which is exactly what diff-aware scoring does when it flags “this PR touches your auth flow and three DB migrations.”
Plain-English fix PRs matter more than most security teams admit. When a tool opens a PR that says “this dependency has a known RCE vulnerability; upgrading to version X closes it,” a solo developer can act on that in five minutes. When it opens a PR with a CVE number and a CVSS score, the developer has to stop, research, and context-switch. That friction compounds across a week of deploys.
Vibeprod scans your repo and opens fix PRs so you can ship with confidence
Shipping fast without a security review is how prototypes become liabilities. Vibeprod closes that gap by scanning your GitHub repository for the exact risks covered in this article — exposed secrets, dependency CVEs, auth gaps, CI/CD misconfigurations, and compliance issues — and returning results in under two minutes.
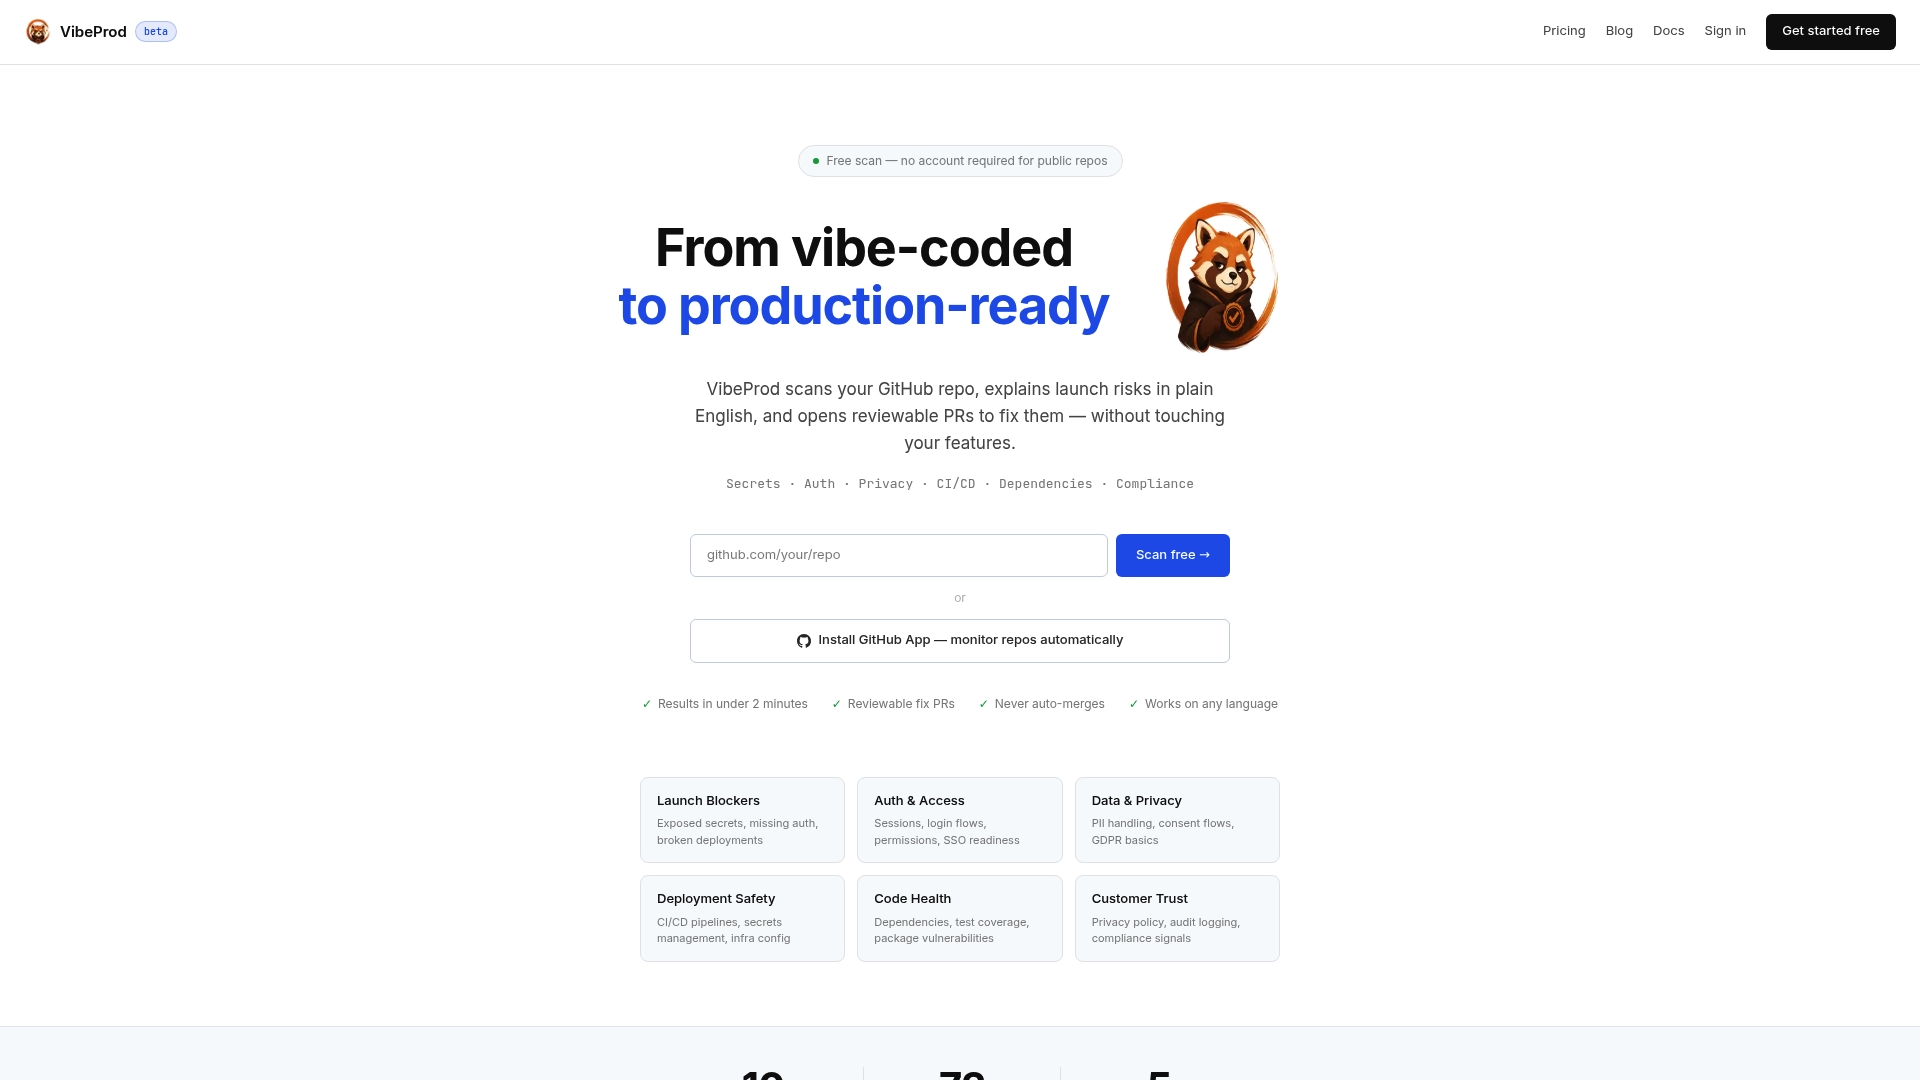
What makes it practical for small teams: Vibeprod opens reviewable fix PRs with plain-English explanations for every finding, without auto-merging or touching your existing features. You stay in control. You just spend less time digging through CVE databases and more time shipping. Vibeprod and see what your repo looks like before your next deploy.
Sources
- Shift-left security: 4 automated security gates in GitHub Actions
- Deployment risk assessment using diff-aware features (case study & primer)
- Diff Risk Score: AI-driven risk-aware software development - Engineering at Meta
FAQ
What is the minimum set of checks for a fast pre-deploy scan?
Run dependency SCA, secret scanning, SAST with CodeQL, a container scan with Trivy, and SBOM generation in parallel, then add an OWASP ZAP baseline as a warn-only follow-on. That covers the highest-risk categories in under 10 minutes.
How do you avoid CI security gates slowing down your team?
Configure gates to fail only on high/critical findings and set low/medium severity to warn. Failing builds on every minor advisory creates engineer fatigue and leads teams to disable controls entirely.
What is diff-aware scoring and why does it matter for small teams?
Diff-aware scoring evaluates only the changed lines in a pull request to produce a risk signal, flagging changes that touch sensitive code paths like auth or DB migrations for extra review. It acts as a guardrail that routes attention efficiently without requiring full-codebase analysis on every commit.
How quickly can Vibeprod surface code risks before a deploy?
Vibeprod scans a GitHub repository and returns findings with plain-English fix PRs in under two minutes, covering exposed secrets, dependency CVEs, auth gaps, and CI/CD misconfigurations without altering existing features.
When should you use SLSA provenance and Sigstore signing?
Start with SLSA Level 1 in week four of your baseline plan: the SLSA GitHub Generator automatically produces build provenance in CI. Add Sigstore artifact signing at the same stage to cryptographically verify that what you deployed matches what your CI built.